|
This article is obsolete, it refers the older version 1.8.0. Please open the latest version of the article.
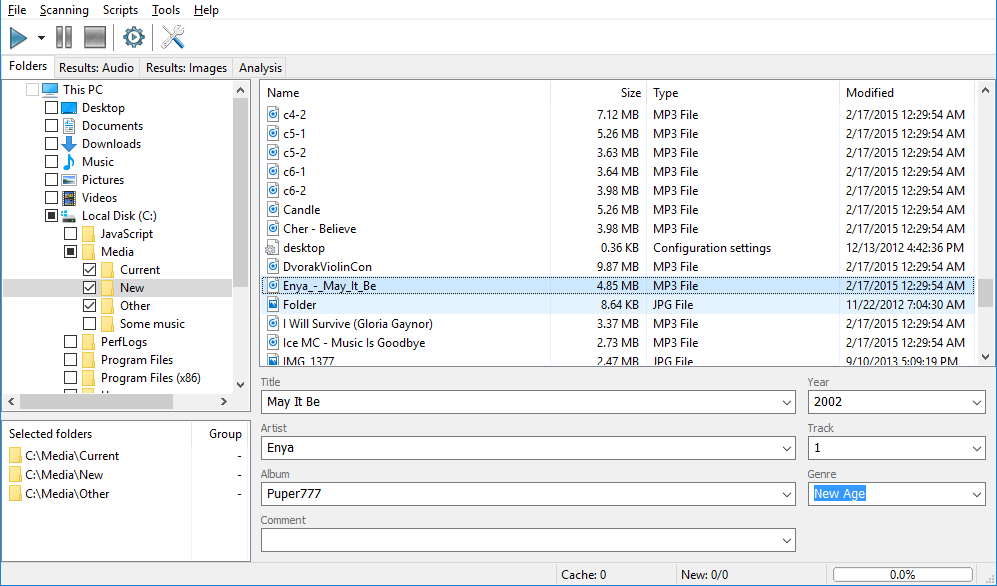
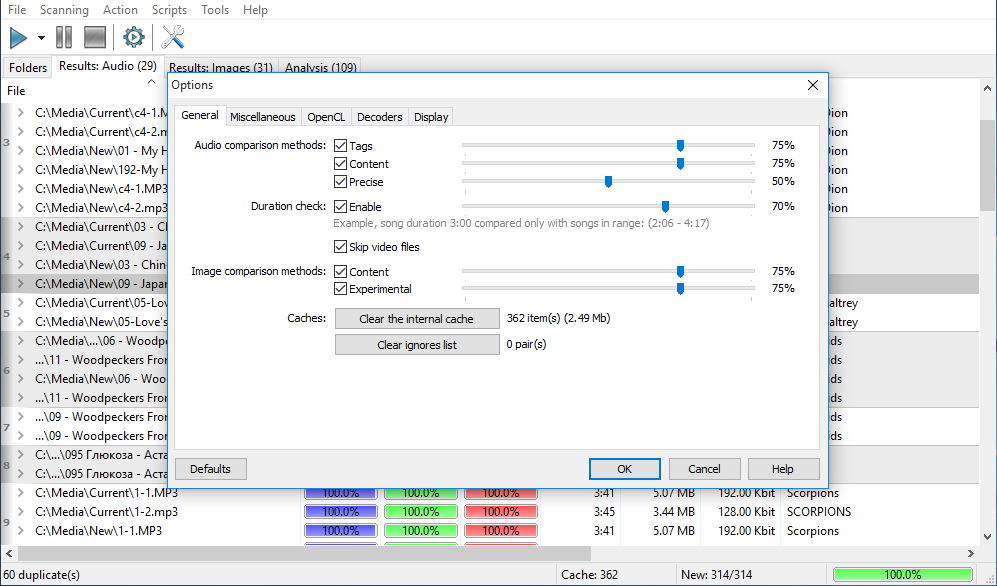
Working with groups in Similarity This article describes the grouping mechanism and methods of working with groups in Similarity software. Similarity is an application to bring some order to your collection of music files. The main function of the program is an effective search of duplicate or similar musical compositions; it supports all modern audio-formats and any audio-decoders installed in Windows. The software is capable of comparing files by different criteria, starting from simple tag or name comparison to advanced mathematical comparison methods based on acoustic fingerprints. You can find the detailed info on that at our website. Let’s start with the comparison process. During comparison, the program calculates a value from 0 to 100 – this is a similarity coefficient of two given files, based on the currently selected comparison method (tags, names or content algorithm). Further in this text, we’ll call these two files a duplicate pair. Next, this numeric value is filtered according to the threshold value set up in the "Options". 
Only if a duplicate pair satisfies the threshold value it goes to the result window. Please note, threshold values are compared using the OR logic, that is, a duplicate pair goes to the results if it satisfies at least one threshold coefficient value out of three. 
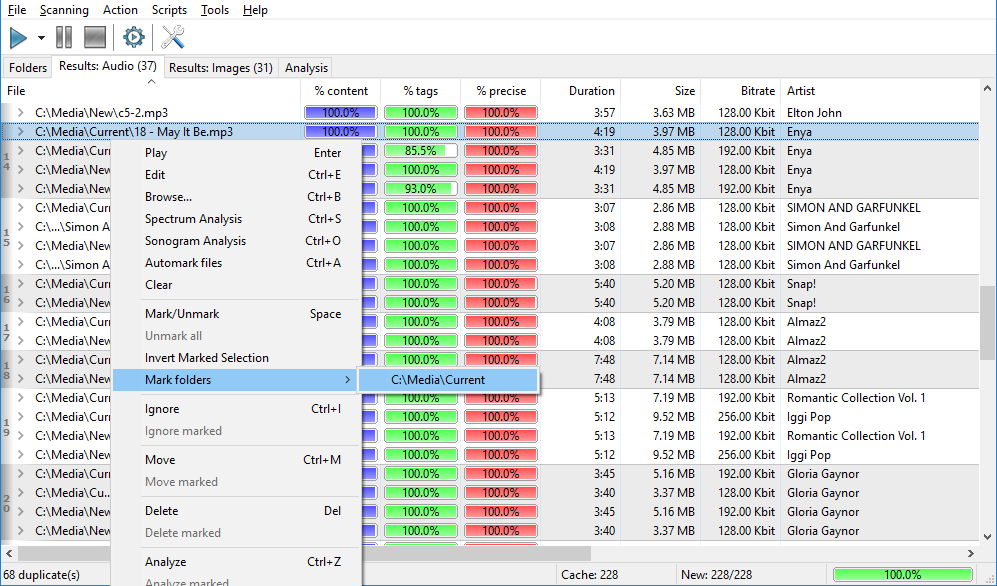
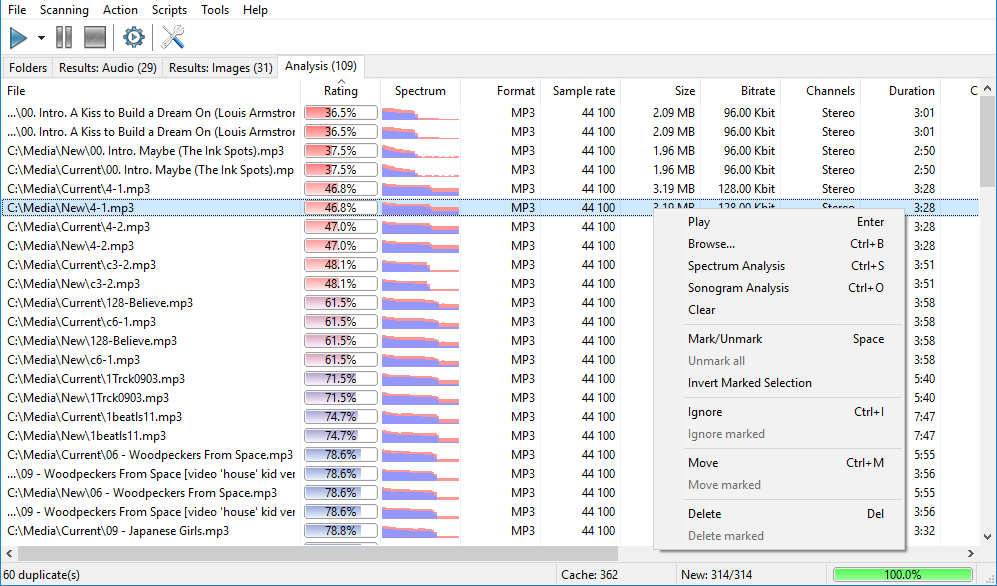
Now, let’s take a look at duplicate groups in the result window. Groups of duplicates are shown with alternate gradations of gray. The bold font in the very beginning of a group designates the base file of that group. This is a file all other files in a group are considered to be duplicates of. For example: 
In this particular example we see that the files 2,3 are duplicates of the file 1, but that doesn’t necessary tell us that the file 2 is a duplicate of the file 3. To clarify: the program uses strict mathematical comparison methods; algorithms we use in Similarity may give a significant similarity coefficient value to the pairs 1,2 and 1,3, but a low value for the pair 2,3. To avoid possible misunderstanding and to make the comparison method more integral, we have chosen grouping by base file. Simply remember: files in a group are grouped together relatively to the base file (bold font) and are duplicates to the base file only. Therefore, if files 2 and 3 are also duplicates to each other, this will be reflected as another group in the result window. For example: 
You may ask why we have selected such way of grouping. Would it not be easier to simply show all duplicates as a single group and do not drive a user crazy with all these groups? The answer is not as simple as it may seem. Among all possible solutions we have chosen the most reliable and convenient one for most of our users. If we showed "merged" groups in large libraries of files (over 5000 files), then every false positive comparison would lead to groups with all duplicates entangled all over. For instance, suppose the program found 2 groups of duplicates with 5 files in each one. Now imagine that one file in the first group has wrong tags and now it mistakenly identified as a duplicate of a file from the 2nd group (a false positive). Now these two groups are merged into one. So this tiny mistake will give birth to a deplorable result – a group that is extremely hard to analyze. And now imagine how the number of such mistakes grows with the number of files – this will result in total inability to work with the results and negative opinions from users. That’s why Similarity doesn’t use such way of grouping. Again, Similarity shows groups of duplicate in relation to the base file (bold font), and all files in a group are considered as duplicates of the base file only. Now, as we know how the groups are formed, let’s see how to work with them. While the scan goes and primary group structure is built, Similarity uses a simple algorithm of forming groups – it adds a new duplicate to the group having the most duplicates at this moment, or creates a new group if files have never been found yet. This simplification is done for a reason: a full-featured group forming would require a lot more resources and time. To make working with groups simpler, the Premium version among all other bonuses has two magic functions: "Rearrange groups" and "Automark files". 
Let’s start with the "Rearrange groups" function. Imagine for a moment, how duplicates would look without grouping – this would be a large table with many pair of files. Now suppose we want to sort them by bit-rate (or any other criterion). The solution is simple: find a file with the highest bit-rate in that table and make it a base file of a group. Then, step-by-step remove all duplicate pairs containing that file simultaneously moving them to its group, and finally sort files in that group by bit-rate value. If we repeat this until the table with duplicates gets empty – we perform a rearranging of groups. In other words, the "Rearrange groups" function selects other base files according to priorities you have set, or even simpler: best files are always at the top of a group. 

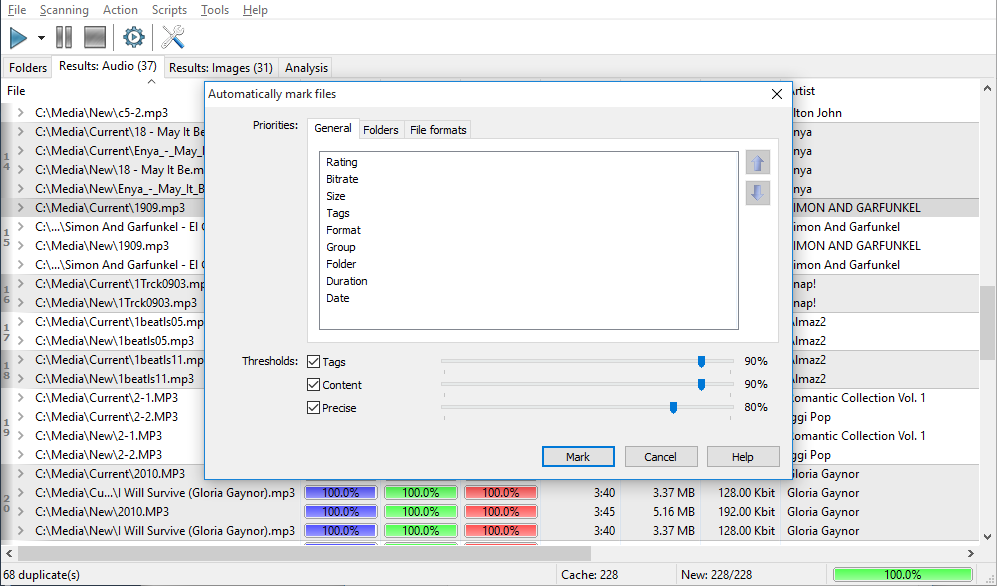
The "Automark files" function is intended to make it easier to mark unnecessary duplicates for deletion or moving to another location. This function automatically marks the worst files basing on your quality criteria. You can instantly delete or move selected files to another location, or manually review marks. Anyway, the function is very useful. In its internal algorithm, the "Automark files" function works the other way than "Rearrange groups" does: it does not consider groups; out of two files it barely selects the one that satisfies threshold values and suits your criterion worst of all. Keep in mind that threshold values are compared using the AND logic, that is, all selected threshold conditions must be met, or none of two files is marked. 

Compare files one by one from the beginning. Make a decision on each double right away, not skipping the group. That is, either delete/move files or ignore a pair. This way, if you delete or moved the file, it also disappears from other groups making further comparison easier. We hope this article will be helpful to you. We are always glad to hear your opinions and suggestions on how we can improve Similarity. Write to us at [email protected] or at the forum. |
Downloads
Premium version
Latest news
2021-11-17 Version 2.5.1 released2020-10-28 Version 2.4.4 released (Mac)2020-09-19 Beta 2.5.0 available2019-11-15 Version 2.4.3 released (Mac)
|