|
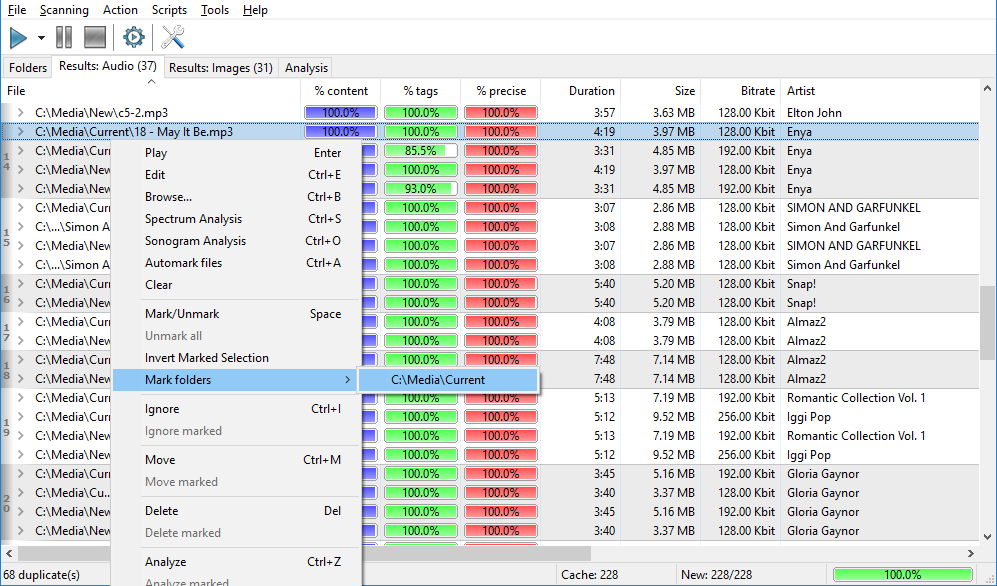
Automatically mark dialog (audio) This dialog allows you to configure automarking of files in the results window. Note that after you click the "Mark" button files are merely marked, all the rest is up to you. You can remove all marked files, move them to another folder or clear marks. All actions are performed with a single mouse click using the context menu (or the "Action" submenu in the main menu). The functionality is only available in the Premium version, while the free version has some limitations. ")
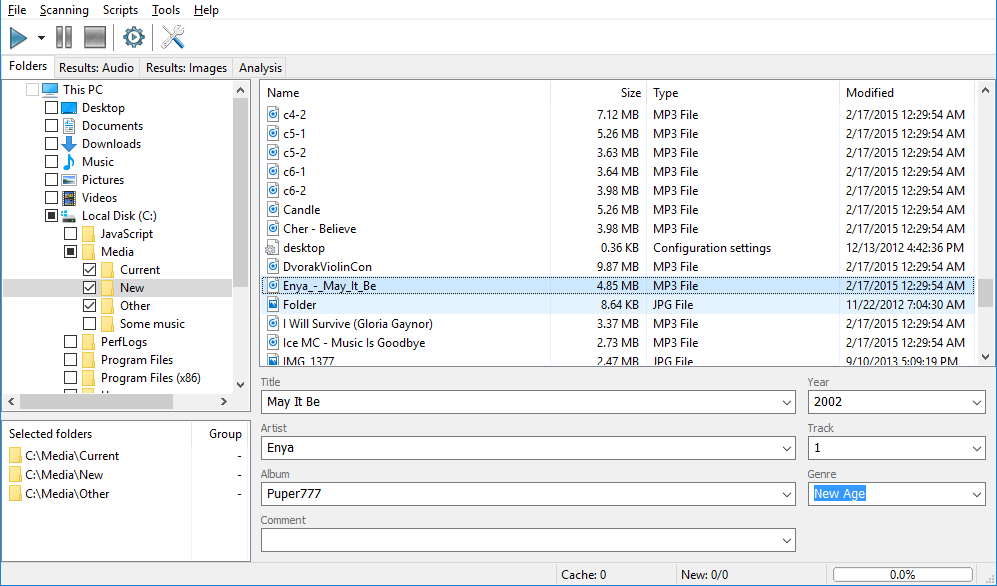
"Priorities: General" – in this list you can select preference criteria for saving files in your collection (the best files), or for marking them for deletion (the worse file). You can adjust priority of the fields with the up and down buttons right from the list. Simply select the field and click the corresponding button. ")
For example, if the "Size" field is the topmost, and the "Bitrate" field is right below it, this means that the file with the smaller size will be marked. If sizes are equal, the file with the lower bitrate is marked. Field description:
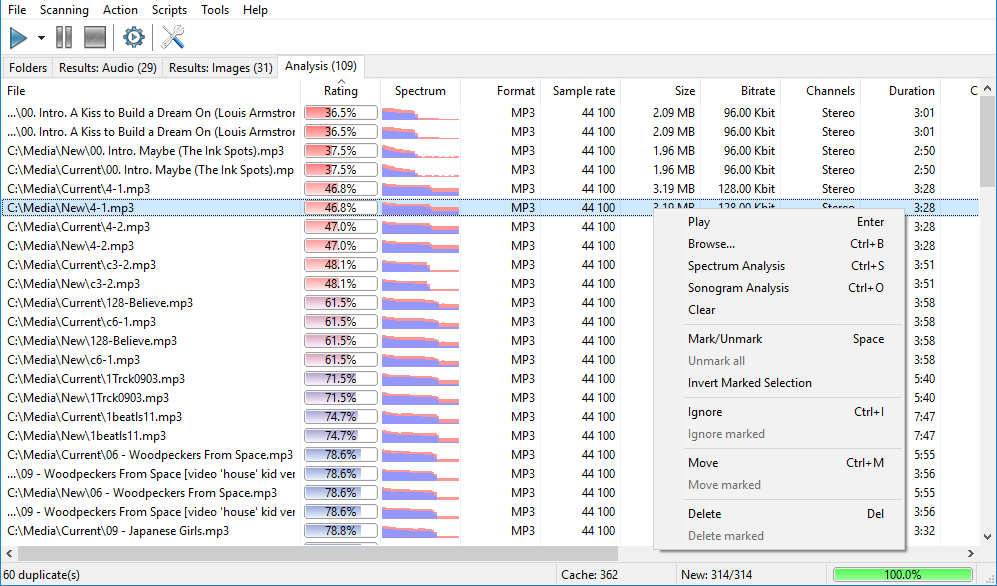
Rating
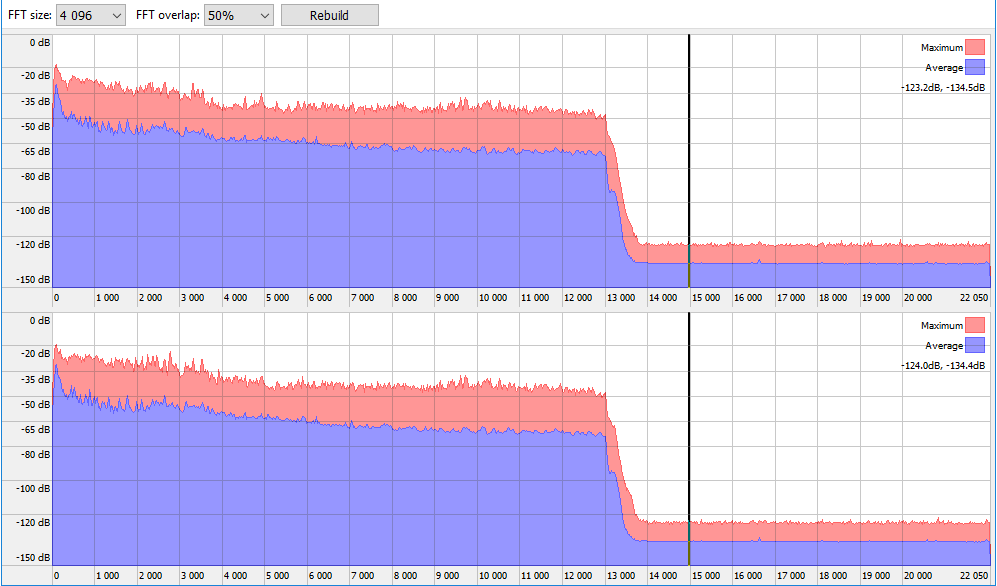
This is a rating calculated during the quality analysis (Analysis tab in the main window). After duplicate scanning is complete, you can run the analysis of those files using the "Analyze All" command in the context menu. Files with lower rating will be marked.
Bitrate
The bitrate of a file. Files with a lower bitrate are marked.
Size
The size of the file. Files with a smaller size are marked.
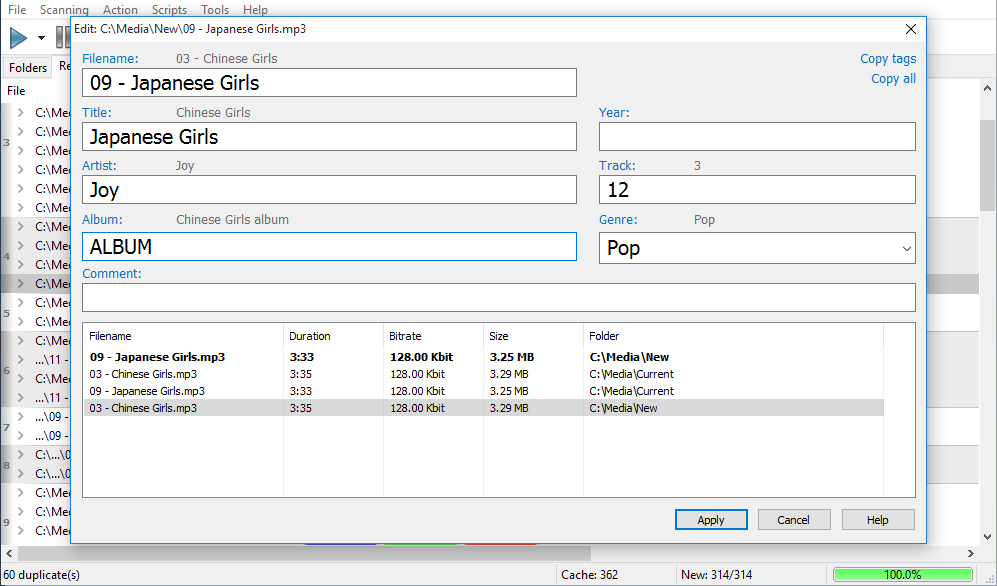
Tags
The coefficient of "completeness" of tags (Artist, Album, Title). Files with lower completeness are marked.
Format
Group files by file format priority, see below. Files located lower in the "File formats" Priority list are marked.
Group
Folder groups. Files with a bigger group id are marked.
Folder
Group files by folder priority, see below. Files located lower in the "Folders" Priority list are marked.
Duration
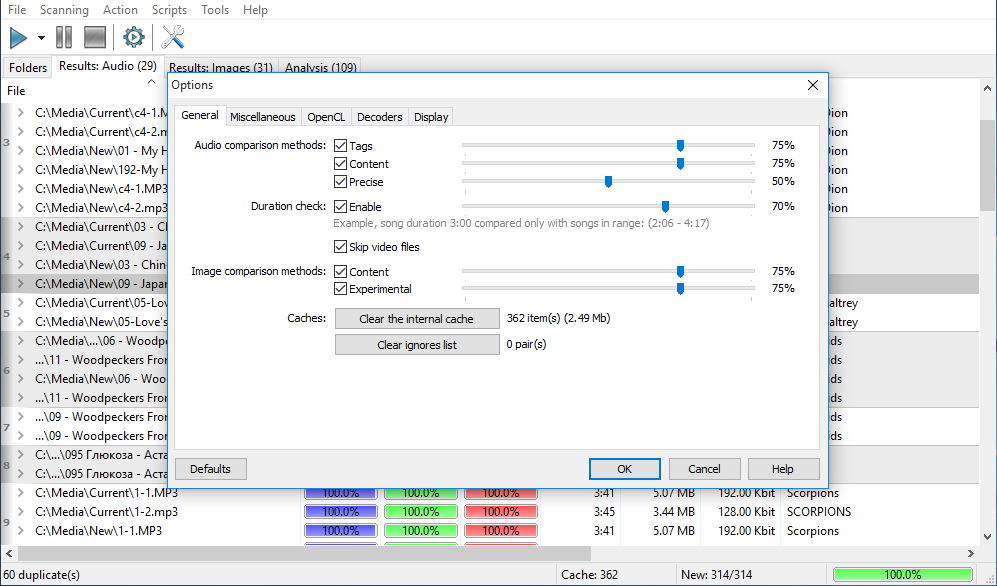
The duration of an audio file. Files with a smaller duration are marked. "Priorities: Folders" – the list of folder priority. You can select a priority for the "Folder" item in the main list of priorities. Folders that are higher in the list have higher priority while marking (that is, files in those folders should not be marked), while files that are lower in the list will have lower priority (that is, files in those folder will be marked for deletion). You can adjust fields using the up and down buttons right from the list. Simply select a field you want to move up or down and click the corresponding button. "Priorities: File formats" – the list of file extension priority. The principle of work is pretty much the same as with folder priorities. Thresholds – this values put limits to which pairs should be processed. That is, if pairs don’t meat these criteria they won’t be processed for marking. This means, if you select certain options and specify values for comparison algorithms you can filter which pairs should be processed. For example, with these settings: ")
tag results are not taken into account at all, and only files with Content more than 90% and Precise more than 80% comparison results will be marked. Among those files, files with lower priority will be marked. Important! Threshold values work on the AND basis. That is, files are processed only if all selected criteria are met. After you have set up the configuration, click the "Mark" button to mark files, or the "Cancel" button to cancel. |
Downloads
Premium version
Latest news
2021-11-17 Version 2.5.1 released2020-10-28 Version 2.4.4 released (Mac)2020-09-19 Beta 2.5.0 available2019-11-15 Version 2.4.3 released (Mac)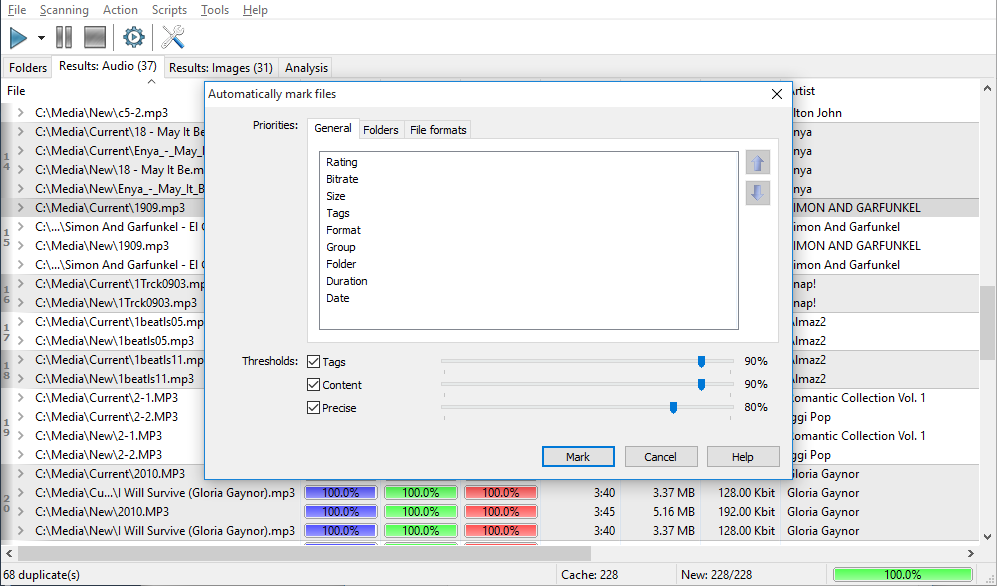
|